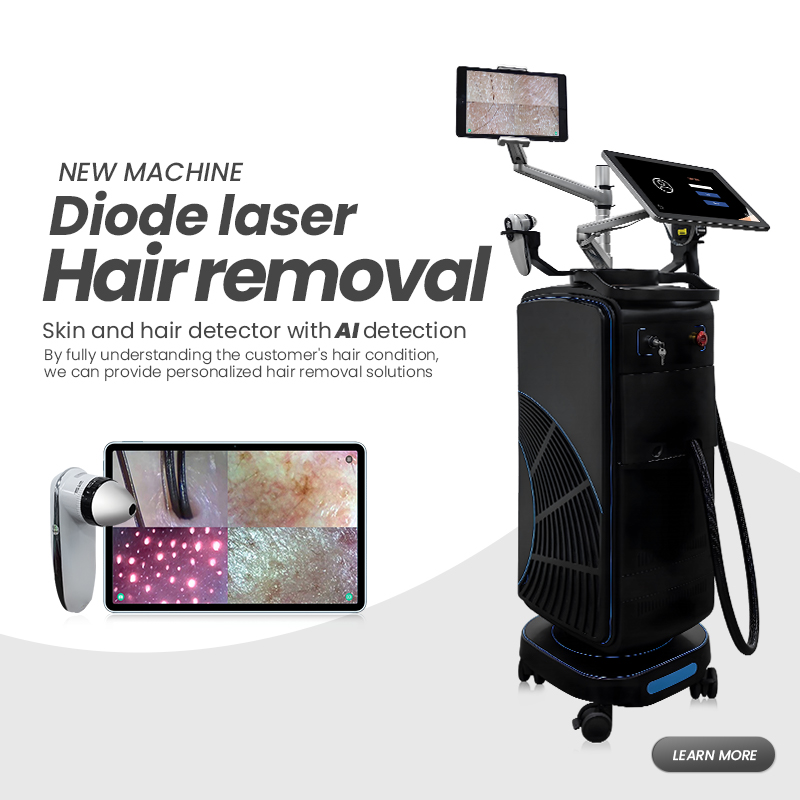

How do you use a diode laser hair removal machine?
Connect hand-piece and power; check water level.
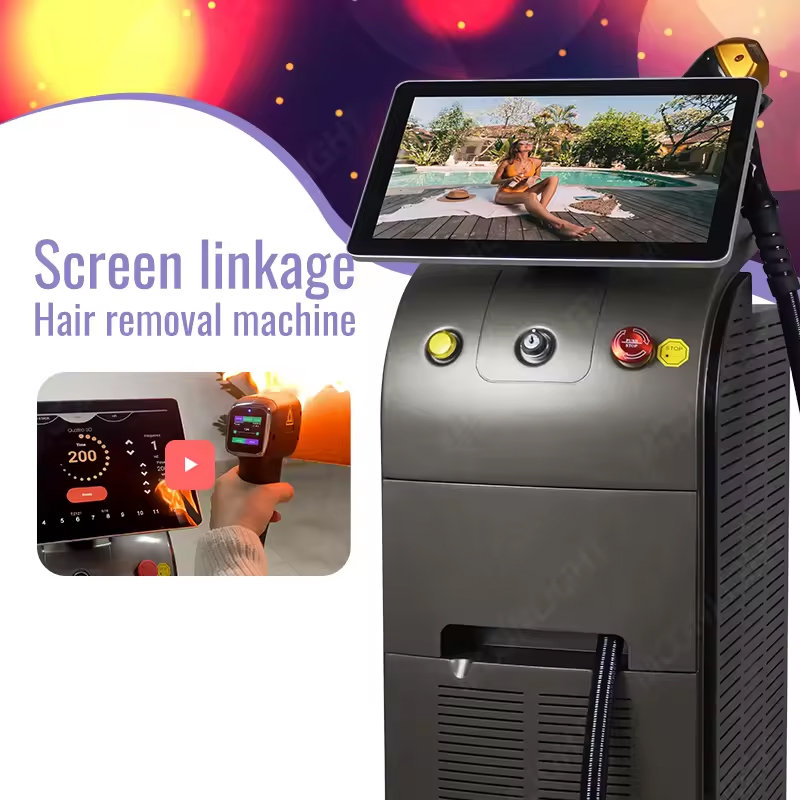
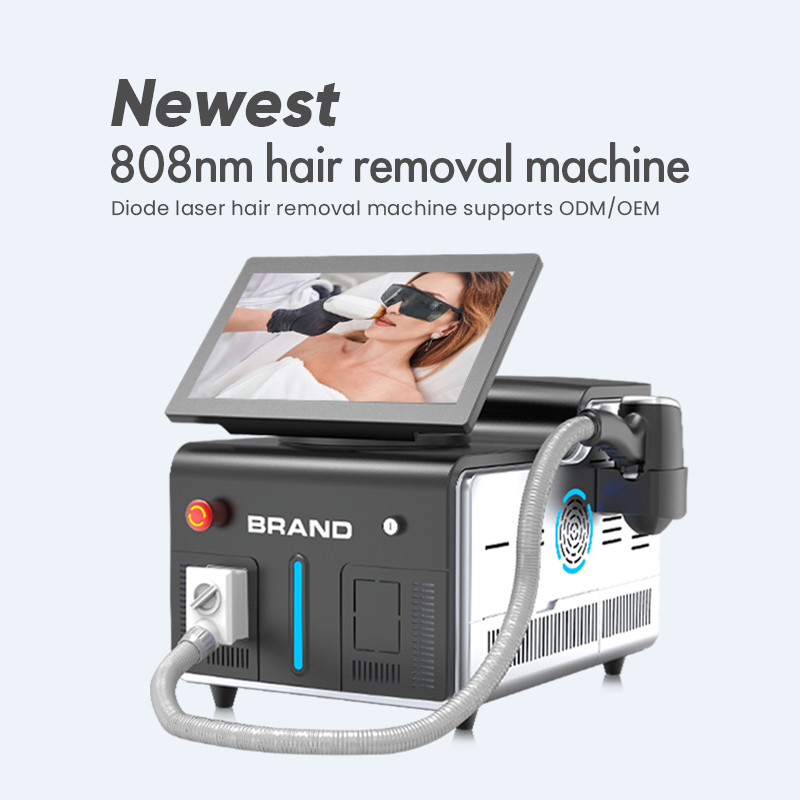
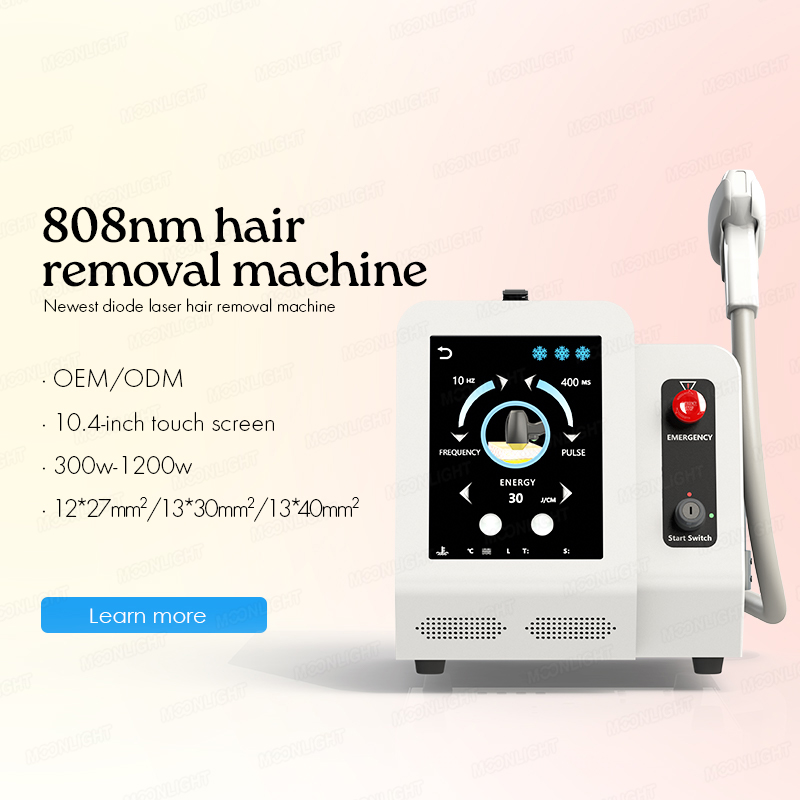
Select skin type on the 15.6″ screen; set 808 nm, fluence 16-24 J/cm², 10-20 Hz.
Activate sapphire cooling; deliver test pulse.
Glide hand-piece slowly; count shots.
Apply SPF 50 post-treatment; repeat at 4-6 weeks.
Thinking of adding a diode laser hair removal machine to your practice but not sure how to use it correctly? In this post we break down the exact steps shown in our latest clinic video (plus insider tips) so you can deliver safe, comfortable and profitable treatments from day one.
Why Follow a Structured Tutorial?
Using a professional diode laser hair removal machine correctly:
Reduces adverse reactions
Increases client satisfaction & re-bookings
Maximises ROI on your capital equipment
Video tutorial on how to use the diode laser hair removal machine:
Key Moments:
00:15 Machine overview & accessories
01:10 Power-up & self-diagnostic
01:55 Selecting skin type & treatment head
03:05 Cooling check & parameter setting
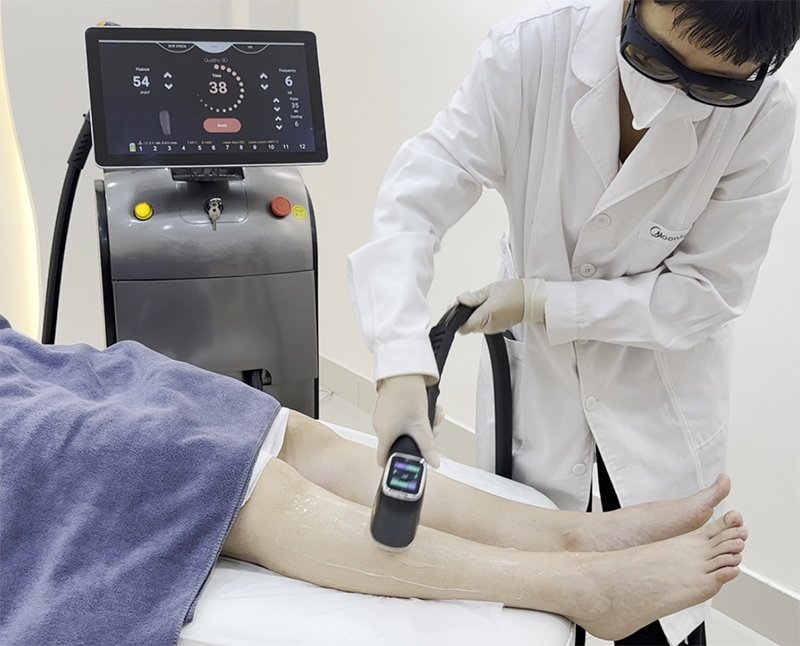
04:20 Demo pulse on model
05:00 Post-care advice
Step-by-Step Tutorial
1. Preprocessing settings
Place the diode laser hair removal machine on a stable surface with a 30 cm airflow gap.
Connect the foot switch, handle and power cord; make sure the visible water window is at the “MAX” line.
Disinfect your phone’s sapphire window with 70% alcohol; check for cracks to avoid risk of burns.
2. Power-on self-test
Press and hold POWER for 3 seconds; the Android screen displays self-diagnosis for 15 seconds.
Select language and date/time – important for accurate therapy diary.
3. Select treatment mode
SHR STACK: Manual mode
SHR: automatic mode
HR: mature therapist model
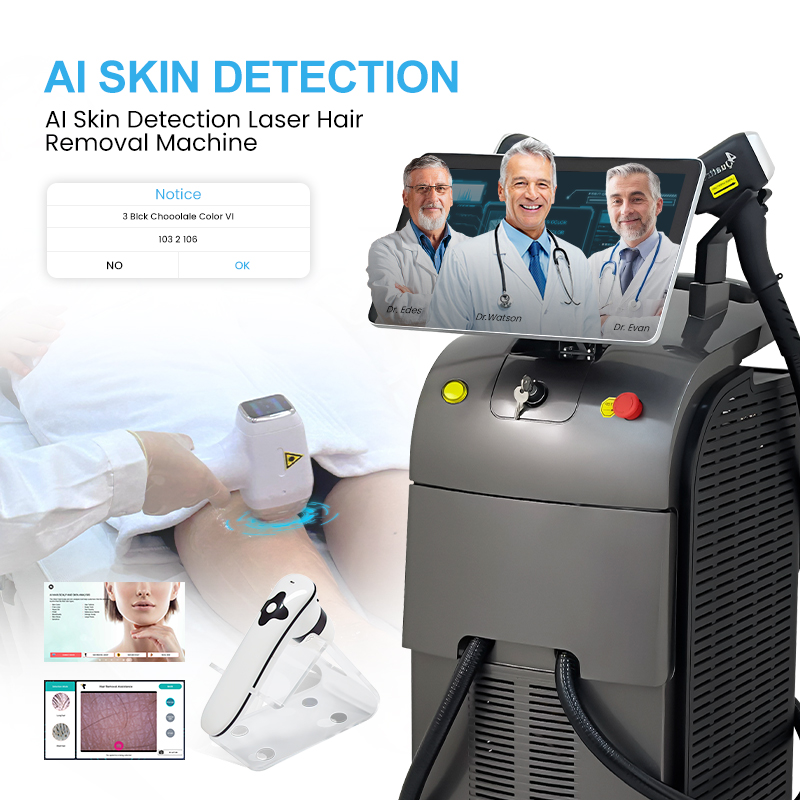
4. Fitzpatrick skin type selection
Use the built-in skin type chart on 4K displays:
Type I-III: 20-24 J/cm², 20 Hz
Type IV-VI: 16-20 J/cm², 10-12 Hz
Always start conservatively; if there is no erythema, increase by 1 J/cm² per pulse.
5. Cooling verification
Activates TEC Sapphire Cooling; target skin temperature reaches 4 °C in 60 seconds.
Confirm airflow from the side vents – crucial for painless diode laser hair removal treatments.
6. Test Pulse and Customer Consent
Use clear ultrasound gel (optional) for extra glide.
Deliver 2-3 test pulses over the treatment area; ask the client to rate the level of discomfort.
7. Treatment Technique
Glide method: move hand-piece in slow, overlapping lines; avoid static stacking.
Spot size: 15×26 mm for legs; 15×18 mm for upper lip.
Speed: 1 cm/s; red alignment beam must stay in contact with skin.
Pulse count: underarm ≈ 120 shots; full legs ≈ 800 shots (20 Hz = 40 s).
8. Immediate Post-Care
Remove gel, apply aloe-vera gel with zinc.
Advise SPF 50, no hot yoga/sauna for 48 h.
Upload after-photo to cloud; schedule next session (4-6 weeks).
Common Mistakes to Avoid
Skipping test pulses – always patch-test, even if skin type looks familiar.
Overlapping too much – causes hot spots and post-inflammatory hyper-pigmentation.
Ignoring cooling – TEC must be ON; otherwise comfort drops and reviews suffer.
How Often Should Clients Come?
Face: 4-6 week intervals, 3-7sessions
Body: 6-8 week intervals, 6 sessions
Tattoo removal: 6-8 weeks, 4-10 sessions depending on ink depth & colour
Ready to put this tutorial into practice? Explore MNLT’s full range of FDA/CE diode laser hair removal machines — from portable units to high-power multi-wave systems — and configure your ideal solution today.
👉 Browse all Diode Laser Machines here:
https://mnltlaser.com/product-category/beauty-machines/laser-hair-removal-machine/diode-laser-hair-removal-machine/
WhatsApp us for instant advice and factory-direct pricing. Your first painless treatment is only one click away!
Inquire Now
Fill out the form for more information, and an MNLT product manager will contact you shortly!