
To replace a diode laser hair removal machine filter, turn off the device, remove the back panel, locate the water filter cartridge, disconnect it, install the new filter, and run a full water circulation test. This process improves cooling efficiency and ensures stable laser output. Follow this complete step-by-step guide.
roper maintenance is essential to keep your diode laser hair removal machine running safely and performing at maximum efficiency. One of the most important maintenance tasks is the regular replacement of the water filter, which protects the cooling system, prevents clogging, and ensures long-term stability of laser output.
In this comprehensive guide, you will learn exactly how to replace the filter, the tools you need, the replacement cycle, and how to troubleshoot common issues. This tutorial applies to most professional 808nm diode laser / 755-808-1064nm triple wavelength machines on the market.
Why Filter Replacement Is Important for Diode Laser Hair Removal Machines
The diode laser cooling system relies on a continuous flow of clean water. The filter keeps the water free from impurities, minerals, and debris.
Below are the main benefits of replacing your filter regularly:
1. Prevents Clogging and Water Flow Issues
A dirty or clogged filter reduces water circulation, causing temperature alarms or machine shutdown.
2. Protects the Laser Module and Cooling System
Impurities can damage TEC plates, pumps, diode bars, and internal tubing.
3. Ensures Stable Energy Output During Treatments
Stable temperature = consistent shot energy = better hair removal results.
4. Extends Machine Service Life
Keeping the cooling water clean significantly reduces repair costs over time.
When Should You Replace the Water Filter?
Most beauty clinics and distributors follow these guidelines:
Every 2–3 months for high-usage salons
Every 4–6 months for moderate use
Immediately if:
Water flow becomes weak
Cooling temperature rises quickly
You see cloudy or dirty water
Flow alarms appear on the screen
Moonlight Beauty recommends filter replacement every 3 months to maintain optimal machine health.
What You Need Before Replacing the Filter
Prepare the following tools:
A new water filter cartridge
A screwdriver
Soft cleaning cloth
Distilled or deionized water
A small container for draining (optional)
Tip: Only use distilled / deionized water—never tap water, as minerals accelerate blockage.
Step-by-Step Guide: How to Replace the Filter on a Diode Laser Hair Removal Machine
Follow these steps carefully to ensure safe and correct installation.
Step 1 – Turn Off and Unplug the Machine
Switch off the power button.
Disconnect the power cord.
Allow 5–10 minutes for the internal system to cool down.
This prevents electrical hazards and protects internal components.
Step 2 – Remove the Back Cover of the Machine
Use a screwdriver to remove the screws.
Gently open the back panel.
Inside, you will see the water tank, water pump, radiator, TEC modules, and filter.
Step 3 – Locate the Water Filter
The filter is usually:
Transparent or semi-transparent
Cylindrical
Connected to water pipes
If the filter appears yellow, cloudy, or blocked, it must be replaced immediately.
Step 4 – Remove the Old Filter
Hold the filter firmly.
Disconnect the inlet and outlet tubes.
Remove the old cartridge.
Small amounts of water may spill—use a cloth to absorb it.
Step 5 – Install the New Filter Correctly
Hold the filter firmly.
Disconnect the inlet and outlet tubes.
Remove the old cartridge.
Small amounts of water may spill—use a cloth to absorb it.
Step 6 – Refill the Cooling Water
Use only the recommended type of water:
Distilled water
Deionized water
Special laser cooling liquid
Fill the water tank until it reaches the maximum water level mark.
Step 7 – Close the Back Cover and Restart the Machine
Reinstall the back cover.
Tighten all screws securely.
Plug in the power cable.
Turn on the machine.
The system will begin circulating water automatically.
Step 8 – Run a Full Cooling System Test
Let the device run for 3–5 minutes and check:
No water leakage near the filter
Smooth water circulation
No air bubbles in tubes
Normal temperature levels
No flow or water alarms
If all indicators are normal, the replacement is successful.
Troubleshooting After Filter Replacement
Problem: Flow Alarm Appears
Tilt machine slightly > Run circulation > Release trapped air inside pipes.
Problem: Water Leaking Around Filter
Reconnect pipes firmly or replace aging silicone tubes.
Problem: Temperature Rises Too Quickly
Check cooling fans, radiator cleanliness, and water level.
Maintenance Tips to Protect Your Diode Laser Machine
Replace filter every 3 months
Use high-purity cooling water only
Clean the water tank every 6–12 months
Stay in a dust-free, well-ventilated environment
Run water circulation for 2 minutes before daily use
These habits significantly extend machine lifetime.
Looking for High-Quality Diode Laser Hair Removal Machines
If you want durable machines with advanced cooling systems, explore our Moonlight Beauty collection:
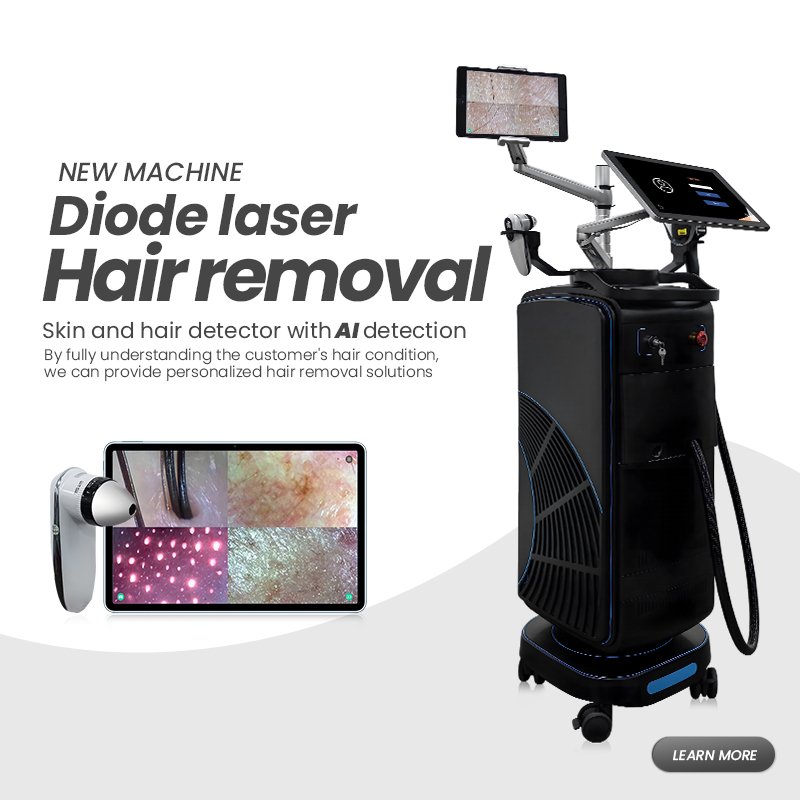
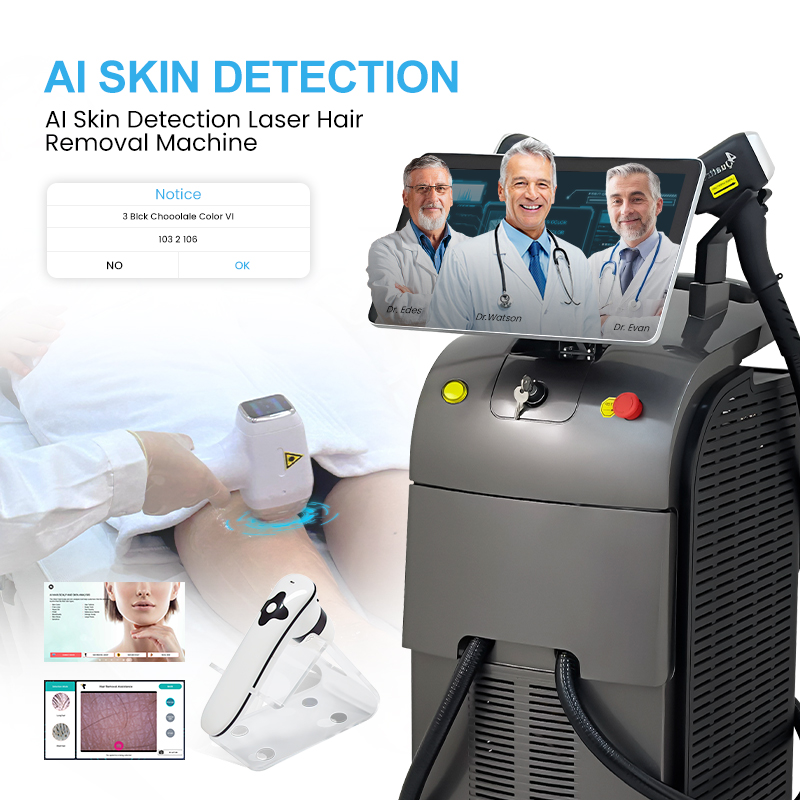
Moonlight AI Intelligent Hair Removal Machine (AI skin & hair detection)
All machines come with:
CE / FDA / ISO13485
Efficient cooling circulation
Long-lifespan diode bars
24-hour after-sales support
👉 Browse our “Diode Laser Hair Removal Machines” category. Whether you are a beauty salon, clinic, distributor, or importer, MNLT Laser offers you professional diode laser technology with stable performance and a reliable cooling system.
Inquire Now
Fill out the form for more information, and an MNLT product manager will contact you shortly!
Related diode laser hair removal machines